Introduction to Vinyl Plank Flooring
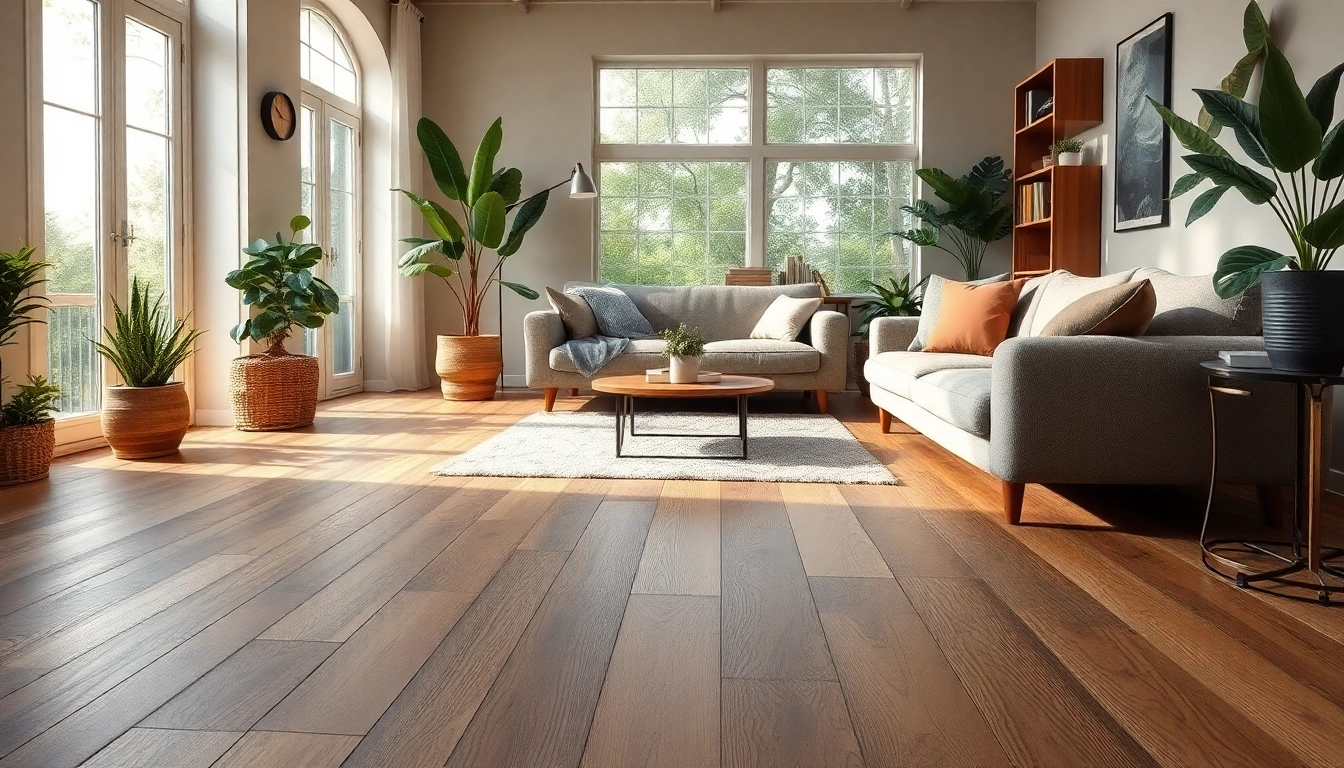
In the realm of modern home design and renovation, vinyl plank flooring has emerged as a versatile, stylish, and cost-effective flooring choice. It combines aesthetics with functionality, making it a popular alternative to traditional hardwood, tile, and laminate flooring. This article delves into the various facets of vinyl plank flooring, from understanding its properties to installation methods and maintenance practices, ensuring that homeowners can make informed decisions that elevate their living spaces.
What is Vinyl Plank Flooring?
Vinyl plank flooring is a synthetic flooring product designed to replicate the look of hardwood, stone, or tile while offering superior durability. It consists of several layers, including a wear layer, a design layer, a core layer, and often a backing layer for added comfort and stability. The textures, colors, and finishes available in vinyl plank flooring allow for extensive design possibilities, catering to a range of tastes and home styles.
Advantages of Using Vinyl Plank Flooring
The popularity of vinyl plank flooring can be attributed to its numerous advantages:
- Durability: Vinyl plank flooring is resistant to scratches, dents, and stains, making it ideal for high-traffic areas.
- Water-Resistant: Many vinyl plank products are waterproof or water-resistant, making them suitable for kitchens and bathrooms.
- Comfortable Underfoot: The material has a softer feel compared to tile or hardwood, adding comfort while standing.
- Easy to Clean: Routine cleaning involves simply sweeping and mopping, making maintenance a breeze.
- Cost-Effective: Vinyl plank flooring offers the visual appeal of real wood or stone at a fraction of the cost.
Common Applications and Uses
Due to its characteristics, vinyl plank flooring can be used in a variety of settings:
- Residential Spaces: Ideal for living rooms, bedrooms, and playrooms due to its warmth and comfort.
- Commercial Properties: Durable enough for retail spaces, restaurants, and offices where style meets functionality.
- Moisture-Prone Areas: Perfect for bathrooms and basements, where the risk of water damage is higher.
Choosing the Right Vinyl Plank Flooring
Factors to Consider Before Buying
Choosing the right vinyl plank flooring involves considering various factors:
- Room Usage: Evaluate the environment where the flooring will be installed.
- Durability Rating: Look for products with a higher wear-layer thickness for more durability.
- Installation Type: Decide between glue-down, click-lock, or loose lay based on personal skills and project scope.
- Warranty: Review warranty options, ensuring protection against wear and defects over time.
Style and Design Options
Vinyl plank flooring comes in an array of styles, colors, and finishes:
- Wood-Look Finishes: Mimicking the appearance of hardwood, available in a variety of species and stains.
- Stone-Look Finishes: Offers the elegance of natural stone but with enhanced durability.
- Custom Patterns: Some vinyl plank options allow for creative patterns, adding a unique touch to any room.
Budget-Friendly Choices
Vinyl plank flooring is known for its affordability. Here are tips for making budget-conscious decisions:
- Shop Sales: Monitor seasonal sales and discounts to find the best deals.
- Bulk Purchasing: Buying larger quantities can reduce per-square-foot costs.
- Consider Thinner Options: Thinner planks can be more budget-friendly, but ensure they still meet durability needs.
How to Install Vinyl Plank Flooring
Preparation and Tools Required
Before installation, it’s critical to prepare both the space and tools:
- Tools Needed: A utility knife, measuring tape, straight edge, spacers, and adhesive (if necessary).
- Subfloor Preparation: Ensure that the subfloor is clean, dry, level, and free of debris.
- Acclimation: Let the plank flooring acclimate in the installation area for 48 hours to prevent expansion or contraction.
Step-by-Step Installation Guide
Follow these steps for a successful vinyl plank flooring installation:
- Measure the Room: Calculate the square footage required, accounting for waste and cuts.
- Lay Out the Planks: Dry-fit the planks without adhesive (if applicable) to visualize the final layout.
- Install the Flooring: Begin at one corner, laying planks according to the manufacturer’s instructions. Use spacers to maintain expansion gaps.
- Cut Planks as Needed: Use a utility knife for straight cuts and a jigsaw for curves or complex shapes.
- Finish with Trim: Install baseboards or trim to conceal gaps and achieve a finished look.
Common Mistakes to Avoid
To ensure a flawless installation, here are mistakes to watch out for:
- Skipping Acclimation: Not allowing the planks to adjust to room temperature can lead to issues post-installation.
- Ignoring Subfloor Issues: Failing to address uneven or damaged subfloors can affect the longevity of your flooring.
- Too Much Water: Overusing adhesive or water in cleaning can damage vinyl materials.
Maintaining Vinyl Plank Flooring
Cleaning and Care Tips
Proper care will extend the life of vinyl plank flooring. Here’s how to clean it:
- Regular Sweeping: Remove dirt and debris regularly to prevent scratching.
- Wet Mopping: Use a damp mop with a gentle cleaner specifically made for vinyl flooring.
- Preventative Measures: Use rugs at entrances to trap dirt and moisture.
Protecting Against Damage
To avoid damage to your flooring, consider the following practices:
- Furniture Pads: Place pads under furniture legs to prevent scratches.
- Avoid High Heels: Discourage walking on vinyl with high heels that may damage the surface.
- Direct Sunlight: Use window treatments or UV window film to reduce sun exposure and minimize fading.
Long-term Maintenance Practices
For lasting results, adopt these long-term maintenance measures:
- Quarterly Deep Clean: Perform a thorough cleaning every few months to maintain appearance and hygiene.
- Replacement of Damaged Planks: Replace individual planks promptly if damage occurs to prevent further issues.
- Periodic Re-Evaluation: Assess the need for resealing or re-coating based on wear and tear.
Frequently Asked Questions about Vinyl Plank Flooring
What makes vinyl plank flooring durable?
Vinyl plank flooring is made from multiple layers, including a tough wear layer that resists scratches, stains, and dents, ensuring a long-lasting finish.
Can vinyl plank flooring be installed over existing floors?
Yes, vinyl plank flooring can often be installed over existing floors, provided that the surface is smooth, clean, and level to avoid complications during installation.
How do I clean vinyl plank flooring?
Simply sweep or vacuum regularly to remove debris, and mop with a damp cloth and a mild cleaner designed for vinyl to maintain its sheen.
Is vinyl plank flooring waterproof?
Most vinyl plank flooring options are water-resistant or waterproof, making them suitable for moisture-prone areas such as bathrooms and kitchens.
How long does vinyl plank flooring last?
With proper care, vinyl plank flooring can last 15 to 25 years, varying by the quality of the product and maintenance practices.